You Removed the Background, but the Thumbnail Still Shows a Tiny Product

Don't re-export from your editor — the margin is part of the file, and your editor already saved it that way. Drop the PNG in, trim the transparent margin to the content, and keep a small even padding — the thumbnail finally fills its frame.
Try the toolAuto-Trim Transparent MarginsTrim transparent PNG margins and save PNG or ZIP files. Images stay in your browser.loopyti.comOne warning before you start: if the wide-margin PNGs are already live in your store, trimming here does not change them — the thumbnail shows the file you uploaded, so trim first and re-upload the new file. The old file stays small until you replace it.
How to trim them in three steps
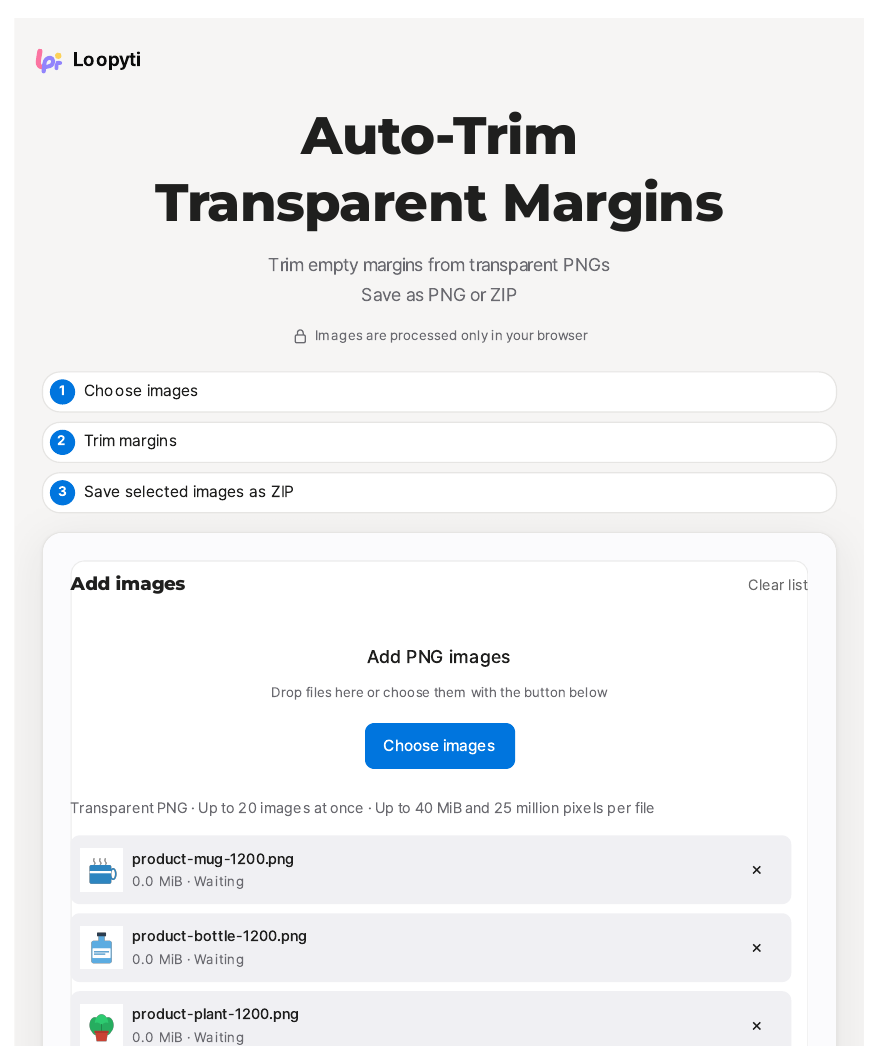
- Add the PNGs. Drop the three 1200×1200 product PNGs onto "Add PNG images" or pick them with "Choose images". Transparent PNG only — JPG and WebP are not accepted — up to 20 images at once, up to 40 MiB and 25 million pixels per file.
- Set the padding. Open "Margin settings" and set "Padding to keep" — the default is 0 px, with quick buttons for 0, 8, 16, and 32 px, and a range of 0 to 1,000 px. For thumbnails I used 20 px, the same amount on all four sides.
- Trim and save. Click "Trim margins", check the dimensions on each result card, then save each PNG or take them all as a ZIP with "Save selected images as ZIP". The files come back named after the originals with "_crop" added — product-mug-1200_crop.png, and so on.
Does it actually work? I tested it
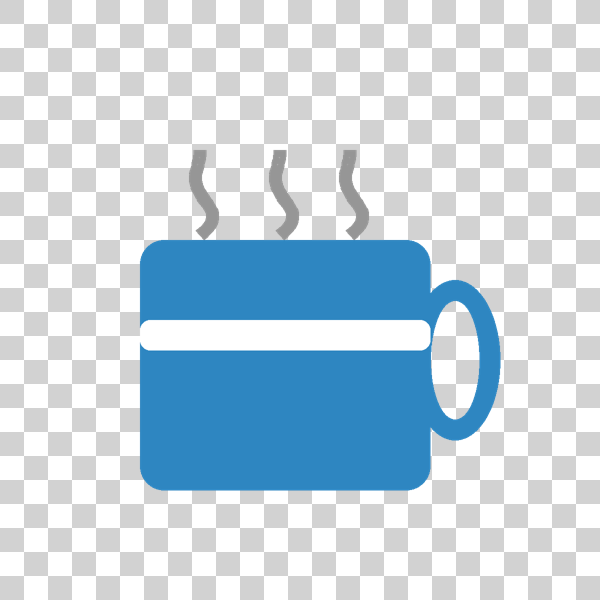
I drew three product shapes — a mug, a bottle, a potted plant — on transparent 1200×1200 canvases, with the content taking up only about a third of each canvas: mug 721×681 (34.1%), bottle 541×821 (30.8%), plant 641×721 (32.1%). In a 240 px store thumbnail cell the products were only about 144, 108, and 128 px wide. All shapes are invented, drawn with code. Tested 2026-11-17.
The trim was exact to the pixel. At 0 px padding the tool returned "Processed 3 of 3 images. Trimmed 3 · Original unchanged 0" — mug 721×681, bottle 541×821, plant 641×721, matching the content bounding boxes I measured beforehand with zero difference. Nothing was cut into, nothing was left over.
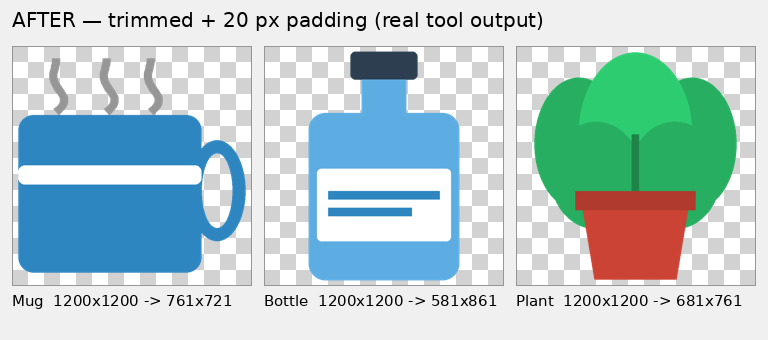
With 20 px padding the results came back as "Processed 3 of 3 images. Added 20px transparent padding on all four sides." — mug 761×721, bottle 581×861, plant 681×761. Every side grew by exactly 40 px, so the padding is even on all four sides, as promised. I opened the downloaded files and measured them myself instead of trusting the screen: all six PNGs are exactly the dimensions the tool displayed.
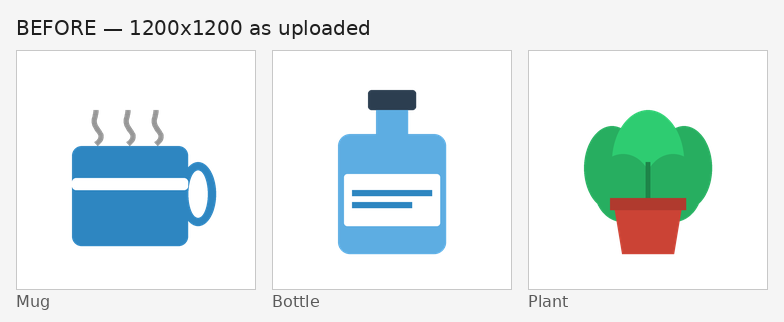
The tool keeps earlier results when you run it again: changing the padding to 20 px and trimming again left the 0 px results in place and added three more, six in total, with the second run's files named with a "-2" suffix. One thing to know: the ZIP button counts what is selected, so with all six selected it reads "Save 6 selected images as ZIP".
The same grid after trimming tells the story. The three products now fill their 240 px cells, and the files are 761×721, 581×861, and 681×761 — the same products, the same pixels, just without the empty canvas around them. The tool's own example makes the same point with a real mug: a 1920×1280 transparent PNG became 711×658 at the default 0 px setting, "only transparent margins are removed; the mug pixels remain untouched."
Why the thumbnail shrinks the product, not the margin
A thumbnail cell scales the whole canvas, not the product. The transparent margin is part of the image, so the store shrinks your product to fit the margin too. That is why removing the background did not fix the thumbnail: the background was already gone, and the empty canvas around the product was still there, eating two-thirds of every cell. Cut the margin and the same product fills the same cell — nothing about the product changed, only how much canvas surrounds it.
What about the other ways?
Cropping in your editor works. But you have to find the edge by hand on every file, and one or two pixels off cuts into the product. For three files it is fine; for dozens, it is an afternoon.
Re-exporting with a tight canvas works — if you still have the working file and remember the export settings. If all you have left is the exported PNG, there is nothing to re-export from.
Running background removal again does not work. Background removal removes backgrounds; it does not trim margins. The tool's own FAQ draws that line: for an opaque background such as white, use the background removal tool first — this one only trims what is already transparent.
This tool's place is the step after background removal and before upload: the background is gone, the margin is still there, and you want the product to fill the frame without touching the pixels.
What it won't do — read this first
- White and colored backgrounds are not trimmed. If the background is opaque, the tool finds no transparent margin to cut. Remove the background first — the background removal step is what Day 6's tool is for — and trim after.
- Faint shadows or edges may be partly trimmed. The tool says so on the page. My samples were drawn with fully opaque pixels, so I did not test this — if your product has a soft shadow, zoom into the edges after trimming and check nothing faded away.
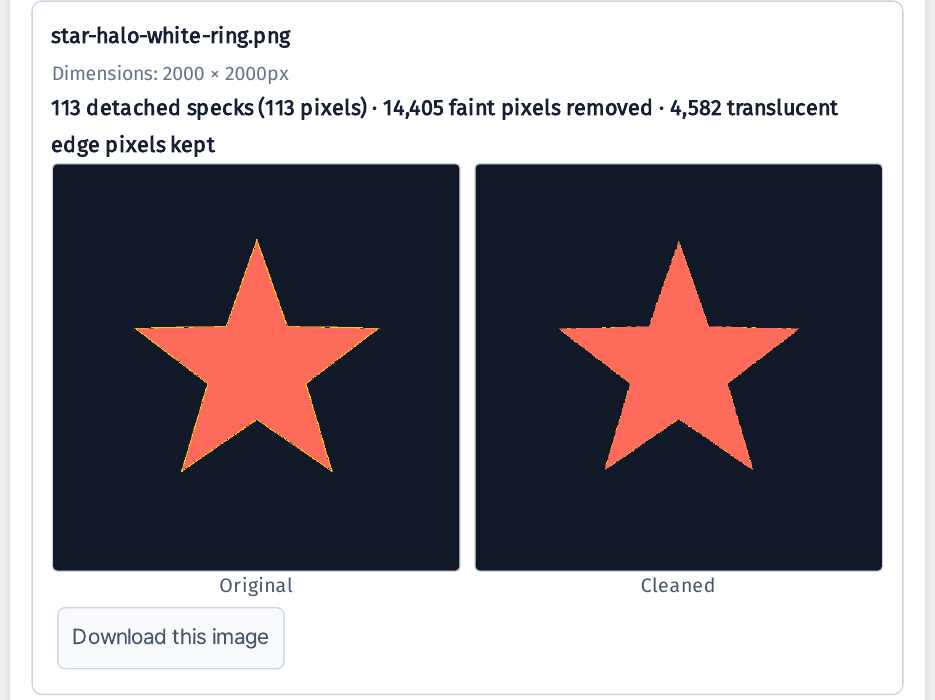
- Stray dots count as content. The tool's own failure example: two nearly invisible 3 px dots in opposite corners meant an 800×600 star only shrank to 773×573. If your image barely shrinks, look for dots in the corners and remove them in another editor first — that kind of residue is what the Day 6 cleanup tool is for.
- It does not split objects. One input file gives one trimmed result. A sheet with several products on it comes back as one trimmed sheet, not separate products — splitting is a different tool's job.
- If there is no margin, you get the original back with only your padding added. An already-tight PNG will not shrink, and with 0 px padding the tool uses the original as-is. "It didn't get smaller" is not a failure — there was nothing to trim.
- Only transparent PNGs go in, and only PNGs come out. JPG, WebP, and other formats are not accepted, and the result is always saved as a PNG so the transparency remains. Limits: up to 20 images at once, each up to 40 MiB and 25 million pixels. Padding goes up to 1,000 px, and the FAQ warns that padding larger than the canvas may fail to download.
- Your images stay in your browser. The tool says so on the page: "Image files are processed in your browser." Nothing is uploaded to a server. My sample products are invented shapes, drawn with code — no brands, no logos.
The one line to remember
Trim the margin, keep a little padding, and the thumbnail finally fills its frame.
Try the toolAuto-Trim Transparent MarginsTrim transparent PNG margins and save PNG or ZIP files. Images stay in your browser.loopyti.comFAQ
Does it remove a white background? No — it trims outer transparent margins only. For an opaque background such as white, remove the background first and then trim. My test started from PNGs that were already transparent.
Can I add padding back? Yes — set "Padding to keep" from 0 to 1,000 px and run the trim again. I ran 0 px first and then 20 px; the tool kept both sets of results, and the 20 px files came back exactly 40 px larger on each side.
Why did my image barely shrink? A tiny stray dot in a corner counts as content. The tool's own example is a star that only went from 800×600 to 773×573 because of two nearly invisible 3 px dots. Remove the dots first, then trim again.