Trim empty margins from transparent PNGs Save as PNG or ZIP
Images are processed only in your browser
Quick start
Choose images
Trim margins
Save selected images as ZIP
Trimmed images
0 images
Add images and choose Trim margins. Results appear here.
Save individual PNGs or selected images as a ZIP
Trims outer transparent margins without splitting images. Does not remove image backgrounds.
If no margins are found, the original is saved with only your chosen padding added. Faint shadows or edges may be partly trimmed.
Preview with sample images: margin removal before and after
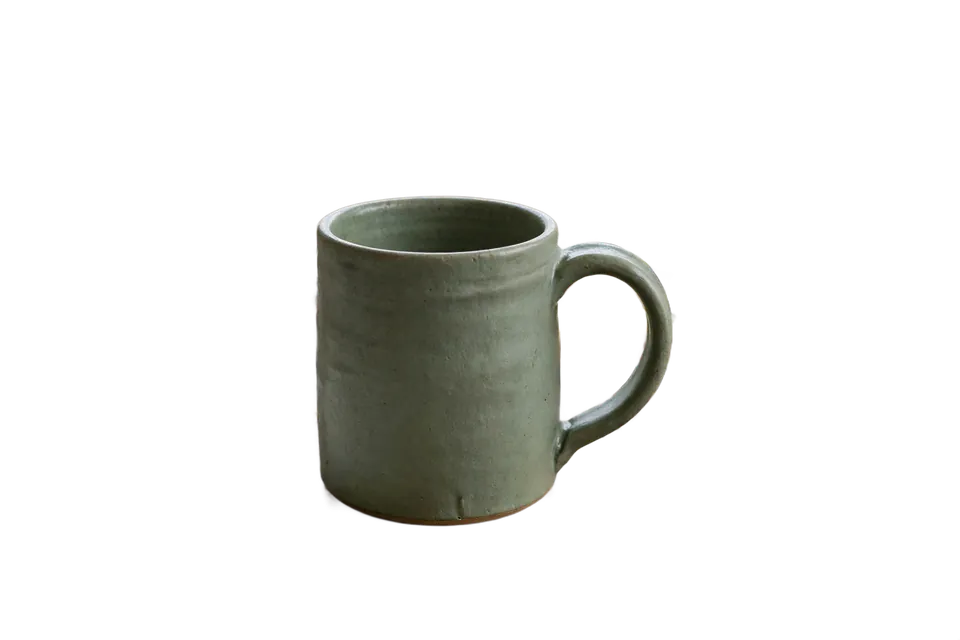
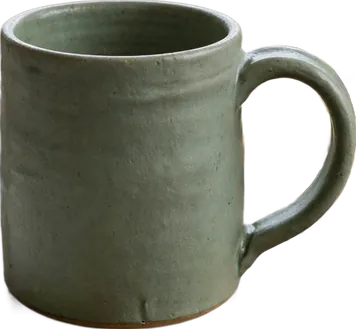
The successful example uses a transparent PNG of a mug from the background removal page. This tool trims it with the default setting (0 px margin). The failed example is a transparent PNG made for this page and processed with this tool. The checkerboard marks transparent areas.
Works well A mug with its background removed
Before · original
After · result
The 1920×1280 transparent PNG became 711×658 after trimming the outer margin. Both images are shown at the same scale, so the size change is visible. Only transparent margins are removed; the mug pixels remain untouched.
Does not work well A star with stray dots in the corners
Before · original
After · result
The trim barely shrinks the image when tiny stray dots remain. Two nearly invisible 3 px dots in opposite corners count as content, so 800×600 only shrinks to 773×573. Remove such dots in another editor first.
How this was made: This site’s algorithm ran with its default settings, so the output is pixel-for-pixel identical to what you get on this page.
When to use it
Use it to trim outer transparent margins from sticker or icon PNGs, or add uniform transparent padding.
Input → result example
A large transparent PNG with a small centered drawing → a PNG with its outer margins trimmed. Optional padding is added equally on all four sides.
Limitations and failure cases
Colored backgrounds are not removed. Faint shadows or edges may be trimmed. If there is no removable margin, only the specified padding is added.
How data is processed
Image files are processed in your browser. Use the save buttons to download the results to your device. Attachments submitted with problem reports are handled separately on the server.
Frequently asked questions
Does it remove a white background?
It trims outer transparent margins. For an opaque background such as white, use the background removal tool.
Does it split objects?
No. It creates a trimmed result for each input file.
Can I add padding back?
Set additional padding from 0 to 1,000 px, then run the trim again.