
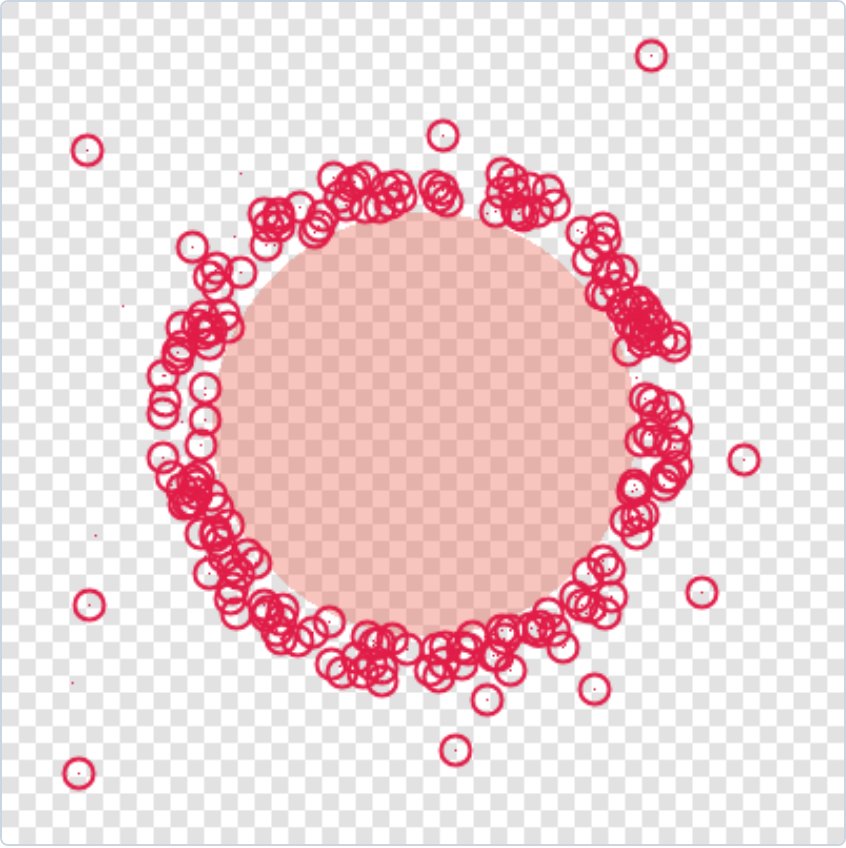

You want to remove faint leftover pixels and tiny specks from a background-removed image.
Find and remove faint pixels and small detached specks left behind in a transparent PNG. Your files stay in your browser and are never uploaded.
How to use it
- Add transparent PNG or WebP files. You can process up to 20 images at once, up to 30 MB per file and 150 MB total. JPG files are not supported because they cannot store transparency.
- The defaults work for most images: remove pixels with opacity below 16 (alpha 1–15), remove detached specks up to 30 pixels in area, and keep soft translucent pixels along the subject’s edges. In Advanced settings, you can change the opacity threshold (1–254) and the maximum speck size.
- Select Find and clean to remove faint pixels below the opacity threshold and detached clusters of up to 30 pixels, while keeping the largest connected area. When Keep soft edges is on, translucent pixels around lettering and illustrations are preserved.
- Compare the original and cleaned image using the red overlay, reveal, and checkerboard views. Download one cleaned PNG or select Download all as ZIP for multiple images. Your originals stay unchanged; each downloaded copy gets “-cleaned” added to its filename.
How to clean faint specks from transparent PNG edges
Have you placed a background-removed PNG over a new color and noticed a dirty-looking outline? Faint leftover pixels around the edges are often the cause. They can look like smudges on either light or dark backgrounds.
Instead of removing the whole background again, clean up only the leftover pixels. This tool finds faint pixels and small detached specks in a transparent image, marks them, and creates a cleaned copy.
Always review the result before downloading. Removing soft anti-aliased edges can make a subject look jagged. By default, the tool removes pixels with opacity below 16 (alpha 1–15) and detached clusters of up to 30 pixels. Keep soft edges on to preserve translucent pixels along text and illustration edges.
What this helps with
- Erase edge pixels one by one in an image editor → Find and remove leftover pixels with one action.
- Remove the background from the entire image again → Clean up only the residue in an already transparent image.
- Look for specks by eye → Reveal and mark faint pixels that are difficult to see.
Limitations
- Removing the subject’s soft edges can make its outline look jagged. Zoom in and compare before and after.
- Opaque specks are removed only when they are detached from the main subject and within the selected size limit (30 pixels by default). Attached specks and larger clusters stay in place.
- This tool is for transparent PNG and WebP images. If an image has an opaque background, there is nothing transparent to clean.
- Defaults: remove pixels below opacity 16 (alpha 1–15), remove detached clusters up to 30 pixels, and keep translucent edge pixels. You can change these values in Advanced settings. Translucent pixels attached to the subject, such as shadows, are not removed.
- You can process up to 20 images at once, 30 MB per image and 150 MB total. Each image can have up to 16 million pixels and a longest side of 8,192 px. Images without transparency, such as JPGs, are not supported.