
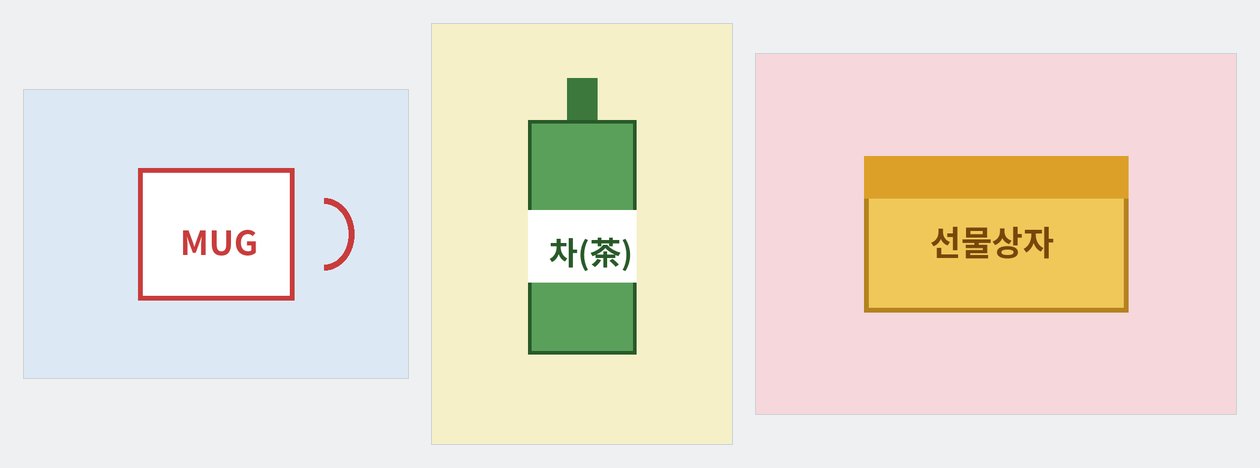
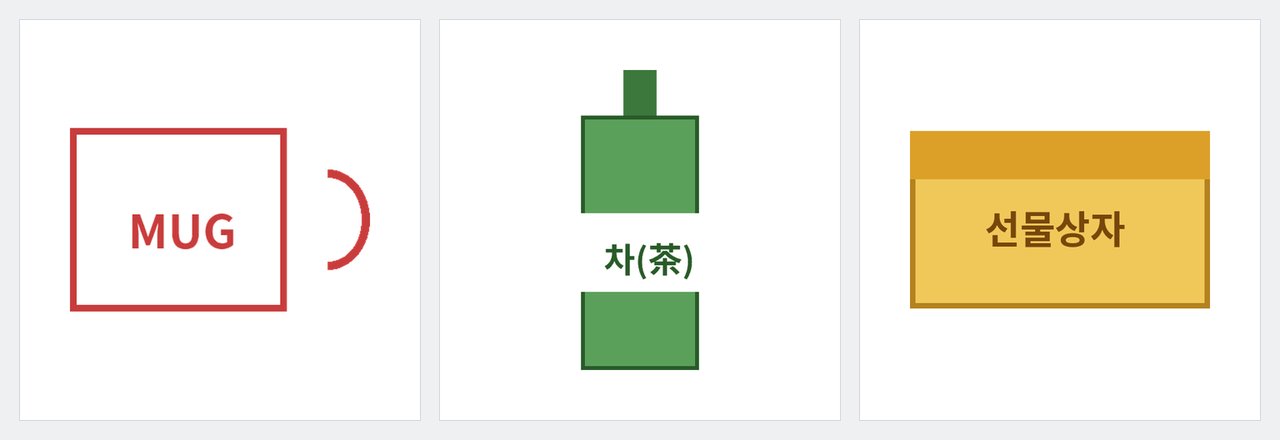
Make product photos look consistent with matching margins, backgrounds, and image sizes
Add product photos to place them on the same canvas with a consistent background color, scale, and position. Everything runs in your browser; your images are not uploaded.
How to use it
- Add the product photos you want to standardize. You can add up to 50 JPG, PNG, or WebP images, each up to 30 MB. HEIC images are not supported.
- Choose the canvas size and margins. The default is 1,000 × 1,000 px; presets include 800 × 800, 1,200 × 1,200, and 1,080 × 1,350 px, or enter a custom size from 100 to 4,000 px. Product fill defaults to 80% of the canvas’s longer side. Place the product in the center or align it to the bottom. The default background is white (#ffffff), or you can keep it transparent. Choose JPG or PNG.
- Advanced settings include how different a color must be from the background to count as part of the background (0–120, default 24) and Do not enlarge small images. In most cases, keep the defaults and select Standardize.
- Review the results. Red boxes on the original images show the detected product area. If a box is wrong, select Edit area directly. Download all images in one ZIP, then use them in a store listing or another grid where product photos appear side by side.
Why product listings look uneven even when the products are not
When some products fill their photos and others look small, a store listing can feel cluttered. The product may not be the problem; the canvas size and aspect ratio, background color, or margin around the product may vary from photo to photo.
Matching each image by hand means opening an editor, changing the size, filling the background, and repositioning the product. This tool applies one canvas size, background color, and product scale to every photo. It does not remove backgrounds, so the original background inside each detected product box stays in place. Photos on a white or solid-color background, or transparent PNGs, usually produce the cleanest results.
Busy backgrounds, such as outdoor scenes or photos with many props, can make product edges hard to detect. Use a photo with a plain background or review each result before uploading it.
What this helps with
- Adjust the size, background, and position of each photo by hand → Set your preferences once and apply them to a batch.
- Show uneven photos side by side in a store listing → Use the same canvas size, background, and margins for each image.
- Spend several minutes editing each photo → Add the photos, set a standard, and download the results.
Limitations
- Busy backgrounds can make results uneven. If the product edge is hard to distinguish, margins or background treatment may look wrong. Review each image.
- Low-resolution originals may look blurry on a large canvas. This tool standardizes photos; it does not add detail. Images enlarged by more than 2× are flagged. Turn on Do not enlarge small images to keep their original size.
- The tool does not standardize camera angle or lighting. It only matches image size, background, and margins.
- You can add up to 50 images, each up to 30 MB and 40 million pixels. Output width and height must each be from 100 to 4,000 px. HEIC images are not supported. Image orientation is applied automatically, and EXIF metadata is removed.
- With a busy or gradient background, the entire image may be detected as the product; shadows and reflections may be included too. This tool does not remove backgrounds, so the original background inside the product box remains. Changing the background color may make the edges of that box visible.