
Resize photos for social media and online store listings without cropping them by hand
Upload photos and choose a size to prepare them for a store or social platform. Use common formats such as square thumbnails and landscape banners without memorizing the dimensions.
How to use it
- Add your photos. You can add up to 10 JPG, PNG, or WebP images, each up to 20 MB and 60 MB total.
- At “② Choose a size and fit,” select a preset: Instagram square (1,080 × 1,080, default), Instagram portrait (1,080 × 1,350), Instagram Story (1,080 × 1,920), YouTube thumbnail (1,280 × 720), online store main image (1,000 × 1,000), or marketplace main image (1,000 × 1,000). You can also enter a custom width and height. These are representative examples, not a guarantee of current platform requirements; check the upload screen for the latest guidance.
- Choose Crop (default), Add padding, or Shrink only. Under Advanced settings, set the padding color (white, #ffffff, by default) and crop position from 0 to 100 horizontally and vertically (50 centers the crop). Select Resize when ready.
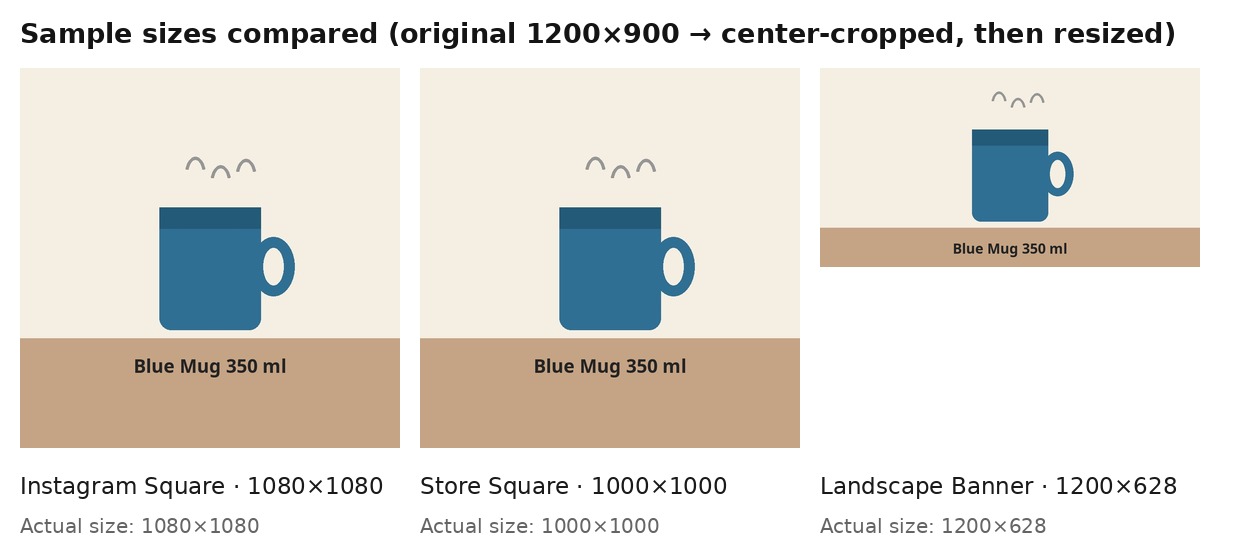
- At “③ Compare and save,” review the original, resized image, and three fit options for the first photo. Check that the subject is not cropped or surrounded by unexpected padding. Select Download all as ZIP or Download this image as PNG.
Prepare store and social images without resizing each one by hand
The same product photo may need to be square for a store listing, square for a social feed, and wide for a banner. Repeatedly cropping and saving it in a photo app takes time, and the wrong aspect ratio can distort or cut off the product.
Choose a preset and this tool resizes the photo to those dimensions. Before downloading, check the preview for cropping or padding. If the source and target aspect ratios differ, the image has to be cropped, padded, or stretched; that does not mean the photo itself is damaged.
If part of a product is cut off, check the original. A tightly framed product photo may leave no room to crop. Use an image with more space around the subject, or add padding and choose a color that blends with the background.
What this helps with
- Remember dimensions and resize each photo in an image app → Choose a preset to set the dimensions.
- Use the wrong aspect ratio and distort or crop the product → Fit the image to the target ratio and review the crop in the preview.
- Save separate copies for your store and social accounts → Choose the sizes you need from the same original.
Limitations
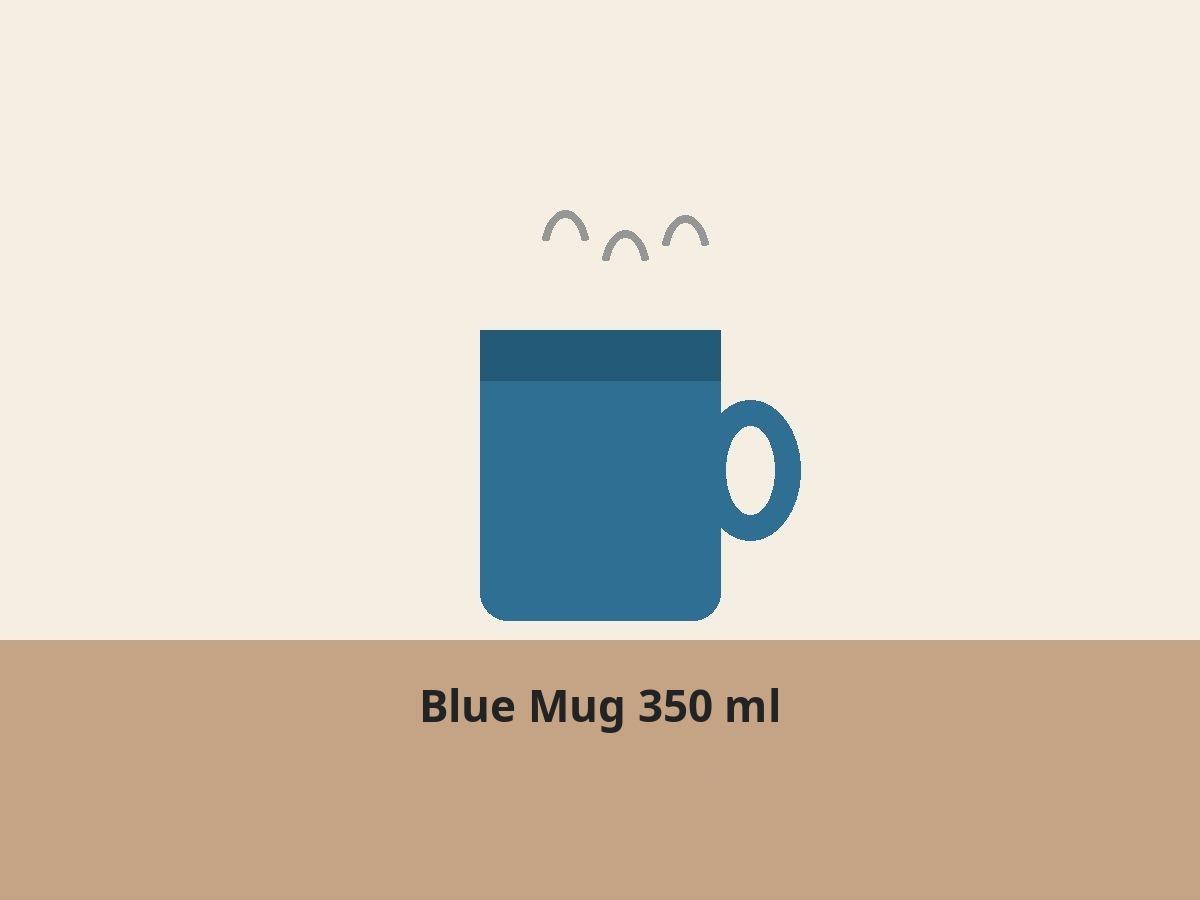
- If the aspect ratios differ, the image will be cropped or padded. For example, fitting a 1,200 × 900 image to 1,080 × 1,080 in Crop removes 150 px from each side. Fitting it to 1,200 × 628 removes about 136 px from the top and bottom.
- A tightly framed product may be cut off because there is no extra space to crop. Use an original with room around the subject.
- Enlarging a small photo can make it look blurry. Avoid choosing dimensions larger than the original when possible.
- Limits: up to 10 images, 20 MB each and 60 MB total; each input may be up to 20 million pixels and 16,384 px on its longest side; each output may be up to 12 million pixels and 4,096 px on its longest side; and all outputs together may be up to 40 million pixels. Outputs are PNG files; multiple images can be downloaded in a ZIP. JPG, PNG, and WebP are supported, but animated images and HEIC are not. Image orientation is applied automatically, and EXIF metadata is removed.
- The preset dimensions are representative examples reviewed on November 7, 2026, and may differ from current official requirements. Check the latest size and file limits on the platform’s upload screen.
- Shrink only never enlarges an image, so an output may be smaller than the selected dimensions when the source is smaller.