
Cut Out Multiple Objects
Separate the objects in a transparent PNG into individual files
Images are processed only in your browser
Quick start
- Add an image.
- Review the automatic split.
- Check the result against another background.
Separated artwork
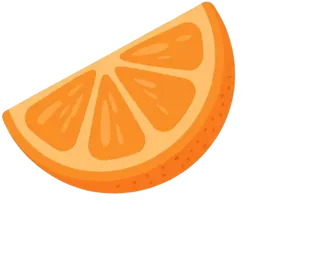
The checkerboard margin in the preview is excluded from saved files. Choose Adjust crop to trim further.
Separates artwork that is apart. Touching or overlapping artwork is saved as one group.
Preview with sample images: splitting an element sheet
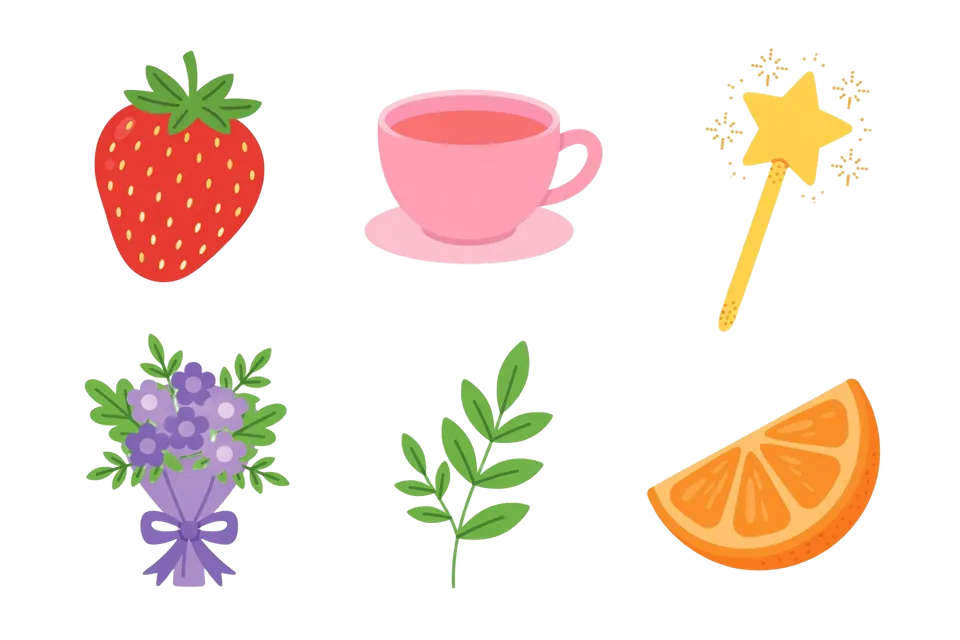
This sample shows an element sheet with illustrations spaced apart on a white background. The background was removed to make a transparent PNG, which was then split with this tool’s default settings. The checkerboard marks transparent areas.
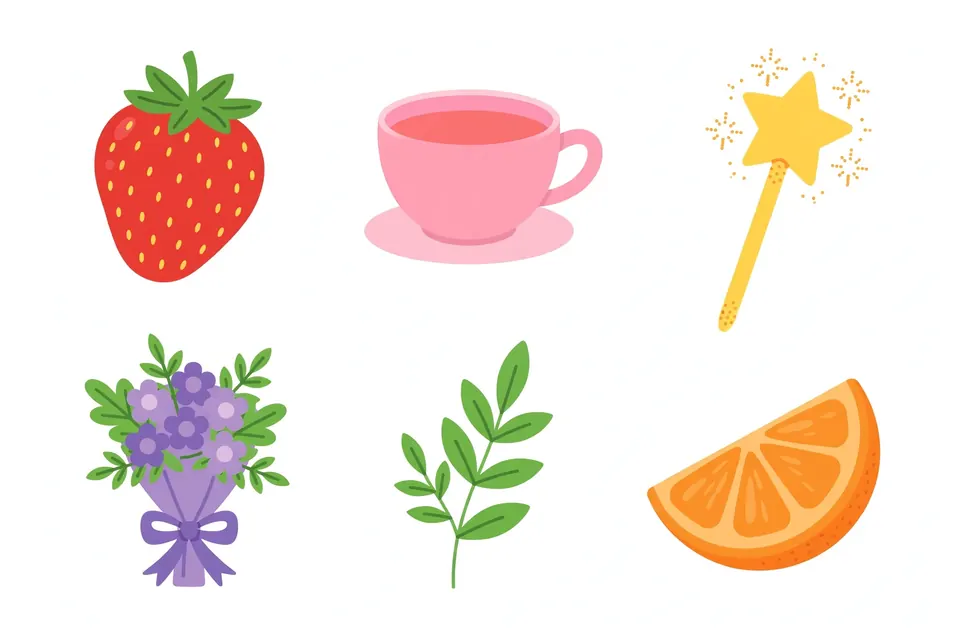
1. Original element sheet (1920×1280) 2. Transparent PNG after background removal 3. Split result: 13 files
Keep: 6 main elements
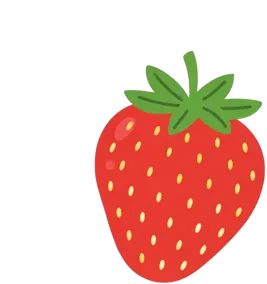
01 Strawberry 
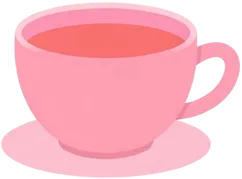
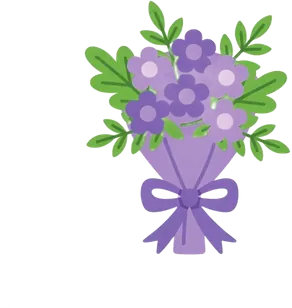
05 Star wand 06 Pink teacup 11 Purple bouquet 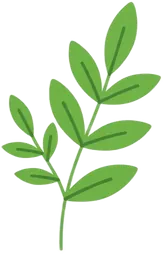
12 Leafy branch 13 Orange slice Discard: 7 sparkle fragments

02 Sparkle fragment 
03 Sparkle fragment 
04 Sparkle fragment 
07 Sparkle fragment 
08 Sparkle fragment 
09 Sparkle fragment 
10 Sparkle fragment
There are 13 results. All six main elements were separated cleanly. The other seven are sparkle dots around the star wand, picked up as separate pieces. Leave those pieces out and save only the six main elements. Automatic splitting works best when the elements are spaced apart.
How this was made: This site’s algorithm ran with its default settings, so the output is pixel-for-pixel identical to what you get on this page.
How to use Cut Out Multiple Objects and what to check
The element sheet above shows an input that splits well. Compare it with the flat lay photo on the stock creators page to see how shadows, transparent materials, and touching objects make photos harder to split.
How to use it
- Add the image: Start with a transparent PNG. To split a photo, first remove its background, then add the resulting PNG here.
- Check the automatic split: Compare the list of split elements with the original. Check two things first: does the number of elements match the original, and is any element’s edge cut off? Do not save just because it split; check once for missing elements or unneeded small pieces.
- Adjust the crop for touching objects: If two objects come out as one, use Adjust crop to narrow the selection to the object you need, then try again. Automatic splitting cannot separate touching pixels, so overlapping objects may need a manually adjusted range.
- Save only what you need: Save selected files as individual PNGs, or download all results as a ZIP. You don’t need to save every small dot or stray piece.
- Check it on another background: The checkerboard in the preview marks transparent areas and does not appear in saved files. Place a saved PNG on a non-white background to check for leftover shadows, white fringes, cut edges, and semi-transparent traces.
Failure 1: Overlapping or touching objects come out as one
If a bouquet stem touches a nearby object or a ribbon loop overlaps a spool, the two may be detected as one. The flat lay example on the stock creators page shows this: the bouquet and ribbon were grouped together. The splitter treats connected pixels as one piece, so touching objects stay joined.
What to do: The surest fix is to leave space between objects when taking a photo or building the element sheet. For an existing image, set a crop range for each object with Adjust crop and cut them out one at a time. When you can see where objects touch, narrowing the range is more reliable than running the automatic split again.
Failure 2: Floor shadows stay attached to objects
If the shadows in a flat lay photo were not fully removed during background removal, they carry over into the split results. They are hard to see on a transparent background, but on a colored background they show up as dark patches around parts of the object.
What to do: Check the background removal result before splitting, especially below each object and where it meets the surface. If the original has strong shadows, a shot with softer lighting helps; for an existing image, narrow the crop toward the object to leave the shadow out. Shadows are best dealt with during background removal, not splitting.
Failure 3: Edges of see-through or reflective materials come out wrong
For see-through objects such as a glass jar of buttons, the edge is already hard to judge at background removal. Parts of the glass can be taken as background and drop out like holes, and the jar and the buttons inside can be treated as one piece. Highly reflective metal such as brass scissors can also get an uneven edge between blade and background.
What to do: For see-through materials, use a shot on a plain background with little show-through and a clear edge. If you only need what is inside the jar, prepare a separate shot with the contents removed rather than splitting the jar and then trying to pull the contents apart. Reflective materials are also easier to work with when the edge between the subject and background is clear.
Frequently asked questions
Can I add a photo (JPG) directly?
The input is a transparent PNG. To use a photo, first remove its background to make a transparent PNG, then add it to Cut Out Multiple Objects.
What format are the results?
Each element is saved as a transparent PNG. Save them one by one or get them all as a ZIP. The checkerboard in the preview only marks transparency and is not in the saved image.
Small dot-like pieces show up separately
Parts that sit apart from the main object, such as sparkles, pollen, or small decorations, can be split as separate elements. Leave out any pieces you don’t need. If a piece belongs with the main object, use Adjust crop to set a range that includes both.
Notes
- Images are not sent to a server; they are processed only in your browser. Results in progress disappear when you close the window, so save the files you need as you go.
- Automatic split results depend on spacing in the original, the background removal result, see-through materials, shadows and whether elements touch.
- The original file is not changed.
When to use it
Use this to split individual stickers or illustrations from a single transparent PNG.
Input → result example
Split the strawberry, teacup, bouquet and other artwork on the element sheet into individual PNG files. Try the demo in the results area.
Limitations and failure cases
Touching or overlapping drawings remain together. Small pieces may be grouped with nearby objects depending on the minimum size. Excluding faint pixels can also reduce pale shadows.
How data is processed
Image files are processed in your browser. Use the save buttons to download the results to your device. Attachments submitted with problem reports are handled separately on the server.
Frequently asked questions
Can it separate touching drawings?
It finds objects separated by transparent gaps. Touching or overlapping drawings are saved together.
Can I adjust the crop?
Use Adjust crop to change the area kept in a result. The same crop applies to both PNG and ZIP downloads.
Does it overwrite the original?
It downloads new individual PNGs or a ZIP of selected objects without editing the original file.